Accessible Documents
If you’ve been following along so far you will find that making accessible documents is quite easy. Fixing an already inaccessible document, not so much. We’ll show you how to create and check whether a document is accessible and why you cannot rely on the accessibility tools that come with the software you might be using.
Auditing PDF’s
Adobe has pretty powerful accessibility tools. I’ve audited some older PDF’s create in the early 2000’s that I was able to fix pretty easily by using Adobe’s auto tag tool. I only had to manually fix a few items myself. To find their tools go to “All tools” > “View more” > “Prepare for accessibility” then a list of available tools will show up. See the left column of the screenshot below.
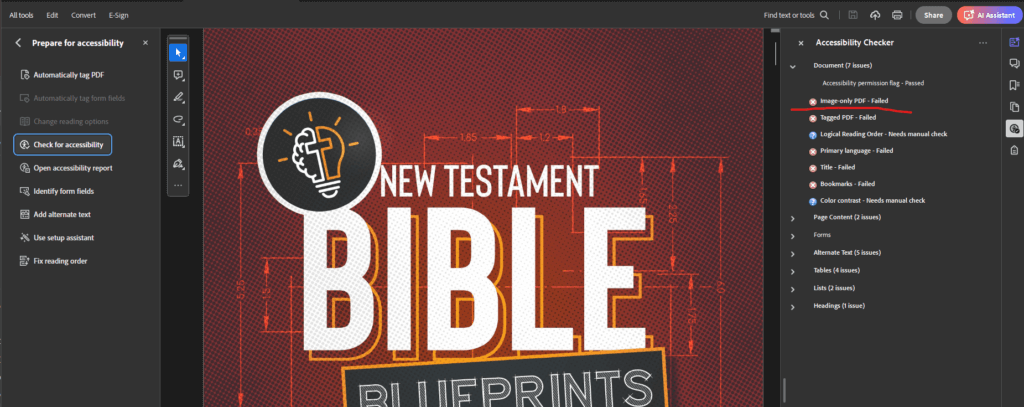
When you audit a PDF, it is significantly more difficult to fix problems like Logical Reading Order, or worse, Image only PDFs. At that point it’s much easier to create the document in Microsoft Word first. Or, even better, if you create the PDF in adobe software like InDesign you will have a much easier time creating compliant PDF’s.
I recently purchased a Bible Blueprint PDF online and was excited to audit it. The document completely failed because all 30 pages were just images. Clearly this file was meant for print only. However, if it’s listed online, and someone actually had to buy it, it 100% needs to be compliant. This is far too difficult a task to try and fix. Instead, there are two options.
- Option 1: Recreate the PDF using proper headings, lists, images, table, and other elements.
- Option 2: Provide an HTML alternative.
Automated Auditing in Microsoft Word
Feel free to download this sample document and follow along.
I have a really poorly put together document that contains 3 BBQ sauce recipes. I was browsing the internet one day and found 3 recipes I liked and just pasted them into the document. It’s perfect for testing. I open the file and I go to the “Review” tab and click “Check Accessibility”. The document passed! WHAT?!
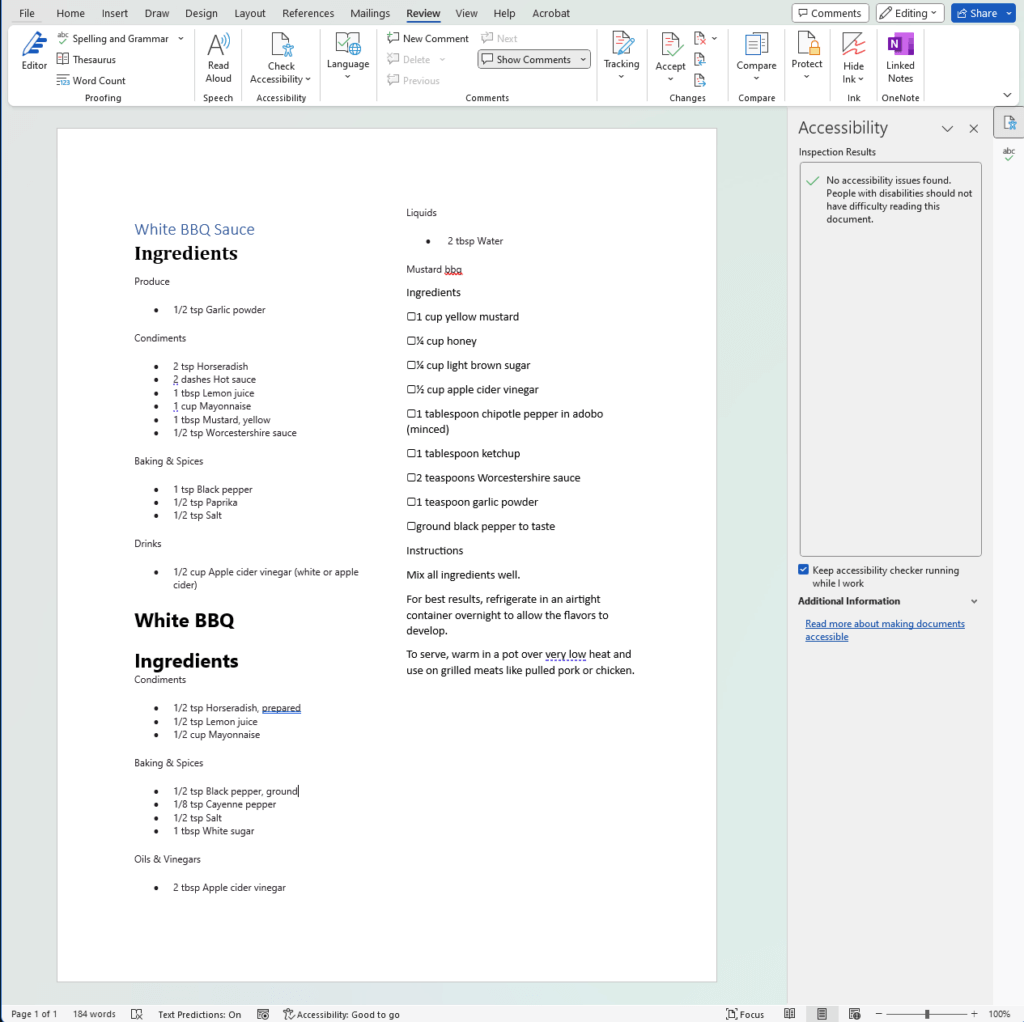
First of all, I only have 1 header. I would think the software would look at the lines with large bold text and at least recommend to me that they be headings. Nope. I take the 2nd line that reads “Ingredients” and I set it to “Heading 3”. The accessibility checker should at least complain that I skipped headings. It didn’t. It’s not even complaining about the fake checkboxes in the right column. Instead, it reads them as “hallow square with rounded corners” followed by the text. Weird. Okay, so we’ve figured out that the checker is basically useless. Once again automation has failed us.
Manual Auditing
Using a document with 3 recipes as an example, I can easily talk through how this should be laid out and which tags to use.
Firstly, let’s give our document a good name. I’m a web user so I’ll never use spaces in my names. Dashes work great in this case because a screen reader will assume it’s a space. This document is named bbq-sauces.docx and is read as “Barbeque sauces dot docs.” Perfect, now those who can and cannot see know what the document contains.
Headings
Now let’s check the headings. There are only two headings in this document when in reality there should be 7 or more. There are more than 1 correct way to handle this. I’ll show you one. Let’s take all the recipe titles and make them heading 1’s. There’s a hidden heading in the right column called “Mustard BBQ.” Two of the sauces have the same name so make them unique. Maybe add “Option A” and “Option B” to those headings. All instances of “Ingredient” should be marked as Heading 2’s. Remember, we don’t want to skip heading levels.
What about the “Instructions” heading? Normally, there would be a set of instructions for each recipe so we’d mark it as a heading 2. However, there is only 1 set of instructions. If we mark it as heading 2 then the user might assume those instructions are only for the most resent heading 1: Mustard BBQ. Especially a screen reader user. So, in this rare case, we can mark it as a level 1.
Lists
The content of each recipe is pretty bazaar and needs to be cleaned up. I’m going to remove the sections above the ingredients. Why is garlic powder in produce and not with the other “baking & spices” items? Then of course the ingredients under the Mustard BBQ aren’t even in a proper list. Turn those into a bullet list and remove the squares.
Lists: Just like on the web, it’s important to use the proper type of list. When we’re just listing ingredients, an unnumbered list is perfect. If we’re listing instructions, for example, then order is important, and we’d use a numbered list.
The instructions on this document are simple and spread apart time-wise. It’s probably fine as-is and doesn’t need to be a numbered list.
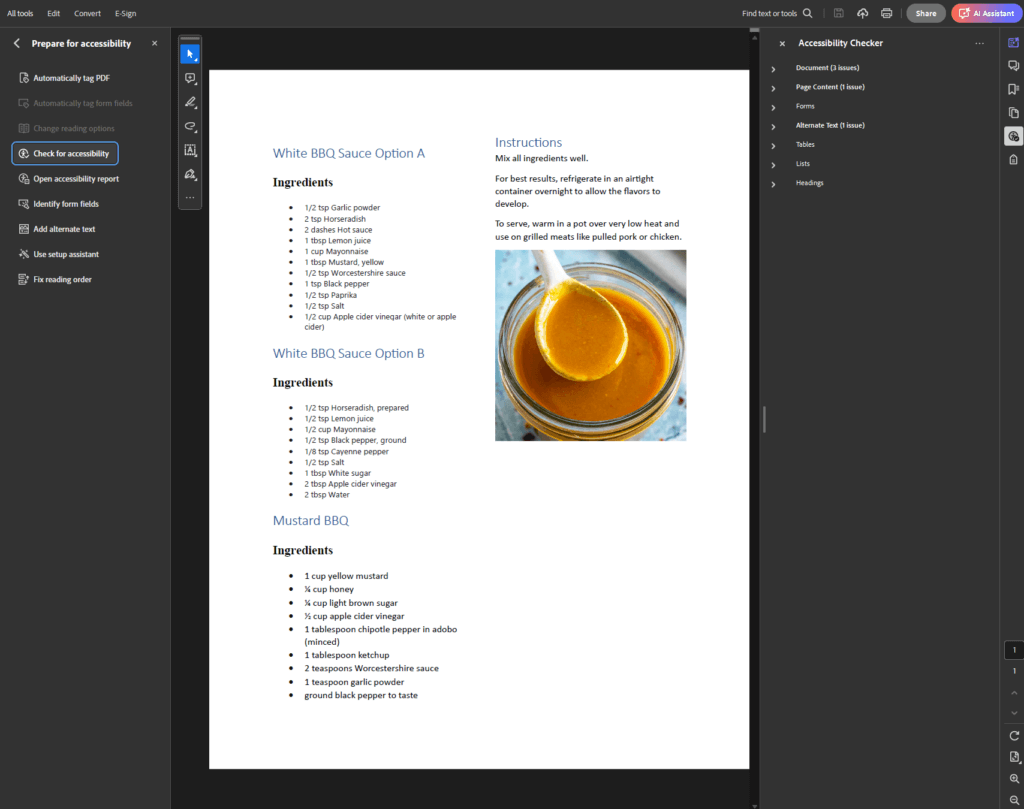
Images
Grab a picture from the internet and paste it into the document after the instructions. Right click on the image and click “view alt text”. Remove the text if there is anything there. Now check the accessibility again. The checker is finally doing something. Alright, now add some gibberish as alt text and recheck the accessibility. You passed. Terrible, right? I’m just stressing the importance of manual accessibility checks. All your alt text should accurately describe the image. If it’s just a decorative image with no meaning, then you can mark it as such by checking the box “Mark as decorative” and screen-reader will ignore the image.
Export to PDF
Now that your word document is complete and accessible maybe you want to export it to a PDF. There are additional steps to take to make the PDF accessible because Microsoft Word fails to do it for us. If you don’t own a copy of Adobe Acrobat, then you will have a difficult time fixing these issues. There are tools online to help but I cannot vouch for any of them at this time.
Open your newly created PDF in Adobe Acrobat and go to “All Tools” > “view more” > “Prepare for accessibility” then click “Check for accessibility” and start the process. Another window will show up listing all the errors. The first one you’ll see is under the Document section. If you right click on “Title – Failed” and click “fix” a window will pop up allowing you to set the title. Uncheck “leave as is” and add in a title. The title will now be marked as passed.
You will also notice the alt tag on your image didn’t get moved over. Hopefully this is a bug and will be fixed, in the mean time you can re-add it.
There are also 4 character encoding issues. This is probably from me copying & pasting from the web. You can edit the PDF and just retype those characters. Then right click the error and click “check again” and they will disappear. Now your PDF is compliant!