Part 5: WordPress Patterns
In Part 2 we created a pattern that we used in our 404 template. We added a setting to it that prevented it from being selected by the user in the pattern selector. This time we’ll learn how to make a pattern the user will actually use.
Working for a web development company for so many years we had a nice system in place. The designer would create mock-ups for each unique page of the client’s website. The developers would then take those related blocks and build them together so the client could easily edit via text fields or image upload fields. Not fun. When the pattern system was released, we were able to give the clients a far better visualization of what they’d see on the front-end, as well as full control. Clients loved how easy it was for them to edit. And if they ever strayed too far, they could simply delete the blocks and re-add from the pattern we created for them.
Let’s create a grid gallery. This is something we used on every site we built.
Design the Block
Create a new test page from the admin area of your WordPress site.
- Add a “group” block and select the default/1st layout option
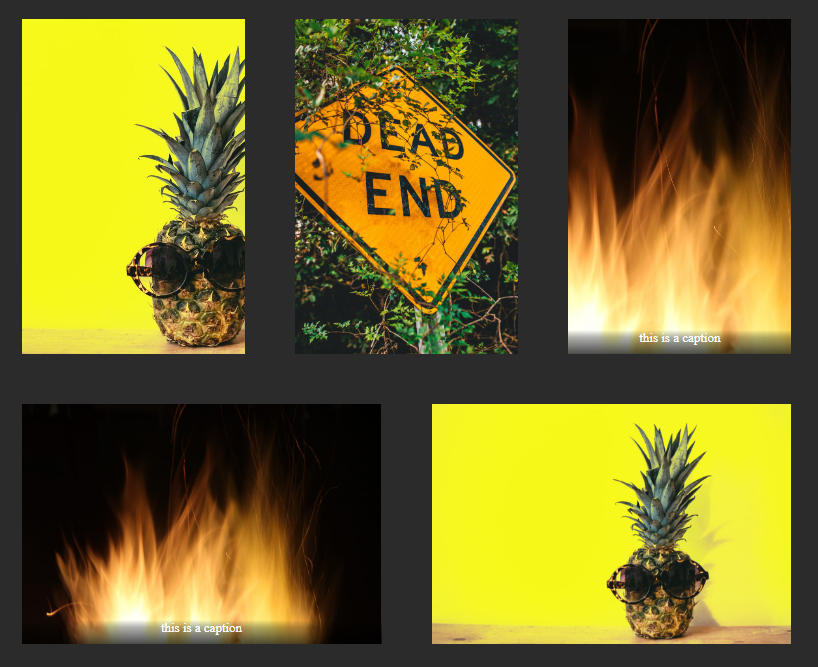
- Inside the group add two gallery blocks
- In the first gallery add 3 images
- In the 2nd gallery add 2 images
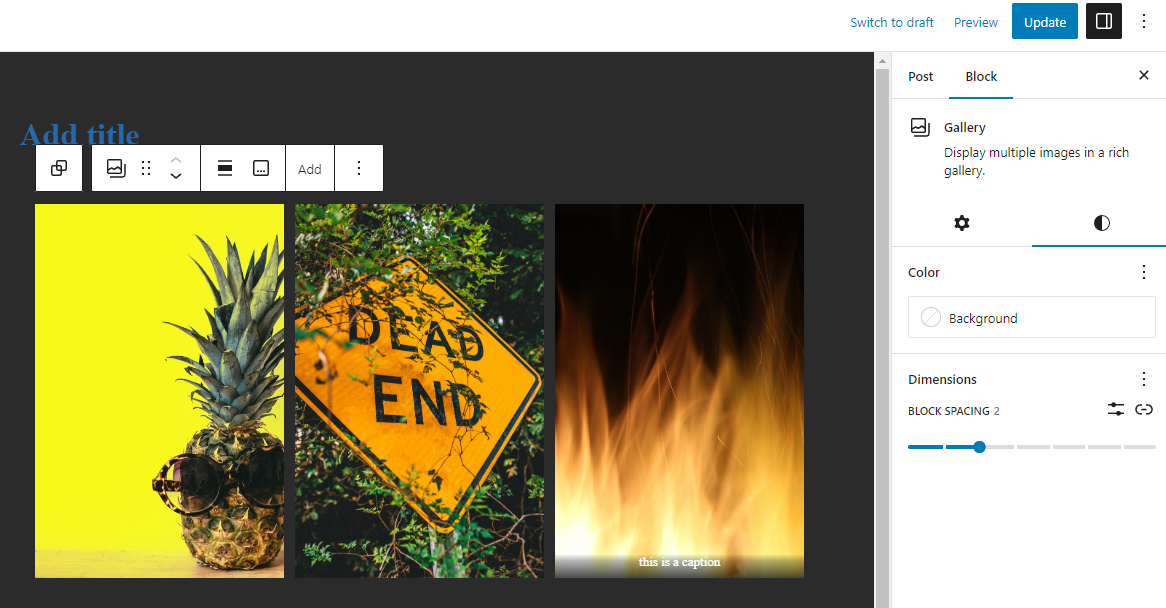
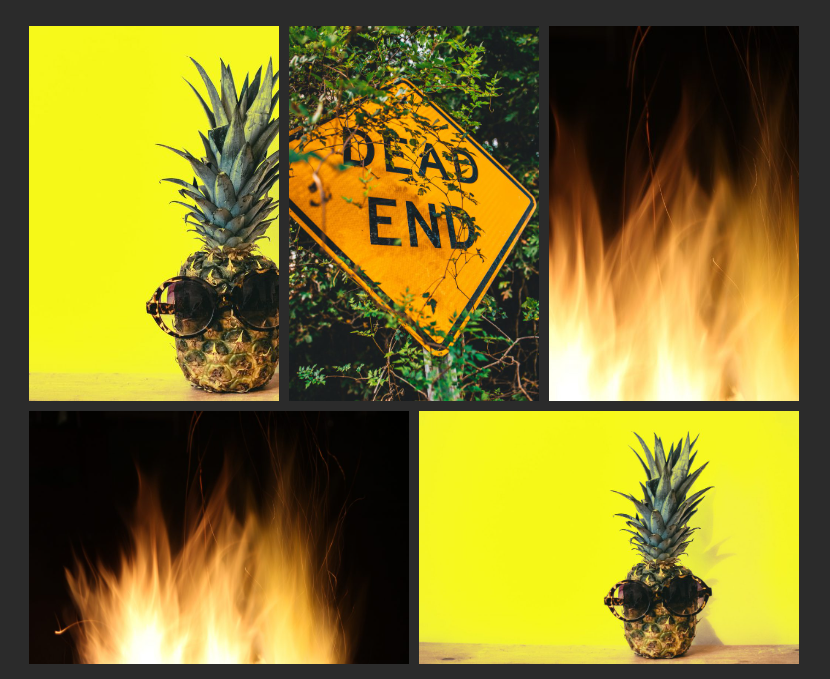
If you’ve been following along with us this entire time, you should have some even space between both the images, and the gallery. We had blockGap set to 50px which looks something like the image below:
The defaults are great. But let’s tighten this up a bit so it’s clear the images are part of a single section.
- Press shift+alt+O to open the Document Overview.
- Expand your group and select your first Gallery block
- Select the Styles tab. You should see “Block Spacing” section
- Drag the slider until it says “2”
- Select your 2nd gallery block
- Click on the Styles tab and set Block Spacing to “2” again
- Click on the 3 dots next to “Dimensions” and select “Margin”
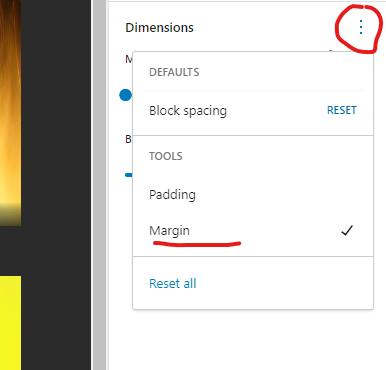
- Set Margin to “2” as well
You should now have a nicely compact gallery with just enough separation between photos.
Create the Pattern
Create a new file inside custom/patterns called gallery-grid.php.
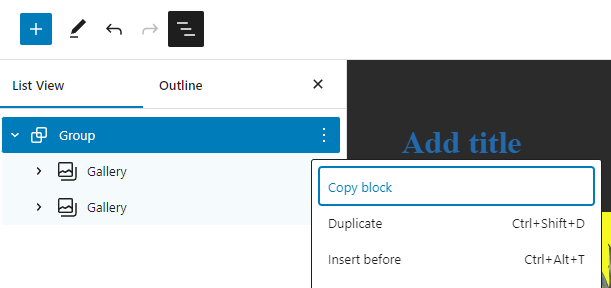
Select the group that is wrapped around your two galleries and click “Copy block” to copy the code.
Paste the code into your new pattern file.
On the very top of your file, we need to add information, so WordPress knows about your pattern. Title and Slug are required. The slug needs to be unique. Category tells WordPress where to add your new pattern.
<?php
/**
 * Title: Gallery Grid
 * Slug: custom/gallery-grid
 * Categories: gallery
 */
?>

<!-- pasted block code here -->
Categories you can use are:
- banner
- buttons
- columns
- text
- query
- featured
- call-to-action
- team
- testimonials
- services
- contact
- about
- portfolio
- gallery
- media
- posts
- footer
- header
You can find this list in wp-includes/block-patterns.php.
You can also register your own categories, but we’ll go over that in the future.
Optional Classes
If you decide you want to add some custom CSS to your block you can add custom classes to your group block. You’ll need to add the class to the div as well as the group block comment. We will add gallery-grid. Example:
<!-- wp:group {"className":"gallery-grid","layout":{"type":"constrained"}} -->
<div class="wp-block-group gallery-grid">
	<!-- gallery code -->
</div>
<!-- /wp:group -->
Set Default Images
I like to select some images from a free stock photo site and replace your local images with stock links. You can try pexels.com or rawpixel.com.
The Final Pattern
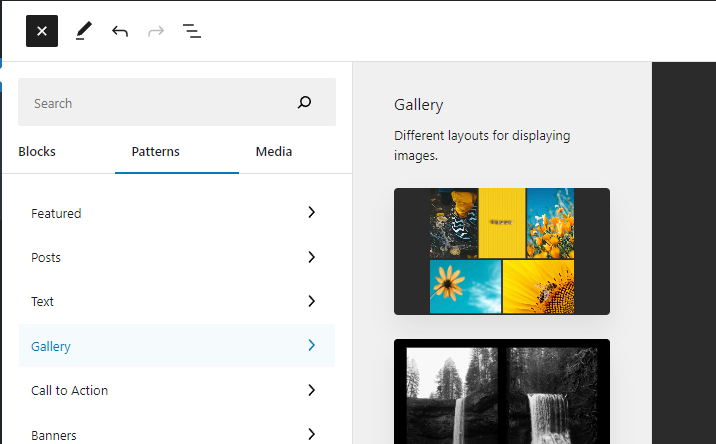
- Click the + icon on the top left
- Click the “Patterns” tab
- Click “Gallery”
Your new pattern shows up on top.